Why would you want a quadview setup?
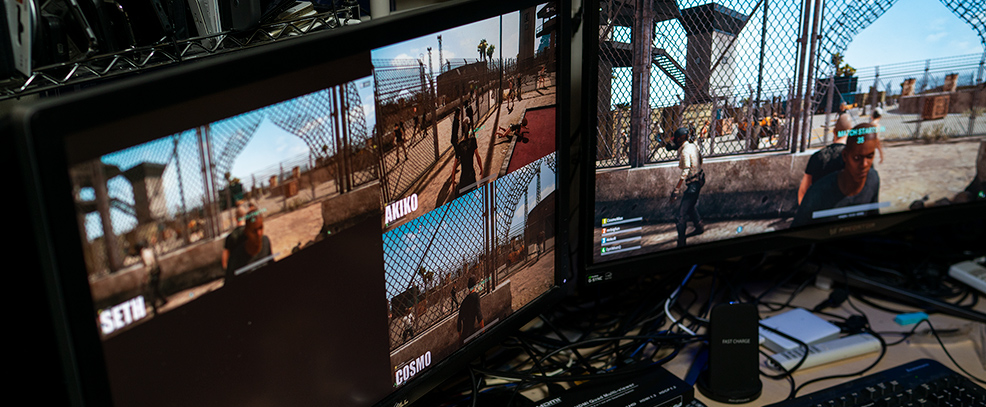
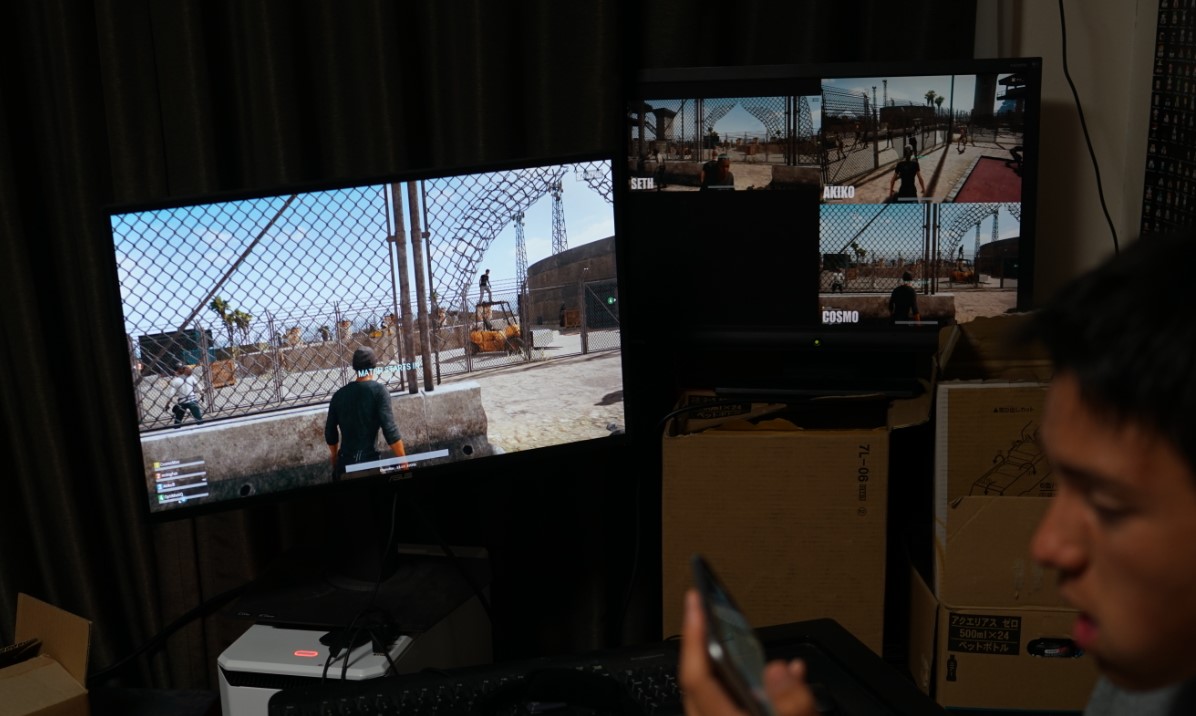
I (badly) play PUBG with my family in a room where we can’t really sit close together and this always happens:
“Sniper in that building. Upper left window”
“Which building? Which window?!”
“Look at my screen… here!”
Turning around to crane your neck at someone else’s computer will get you killed – quadview to the rescue! A quadview setup puts a live feed of everyone’s screen next to your normal screen.
In the very unlikely chance you’re in a situation where this could be useful, here’s how to do it.
Hardware I use
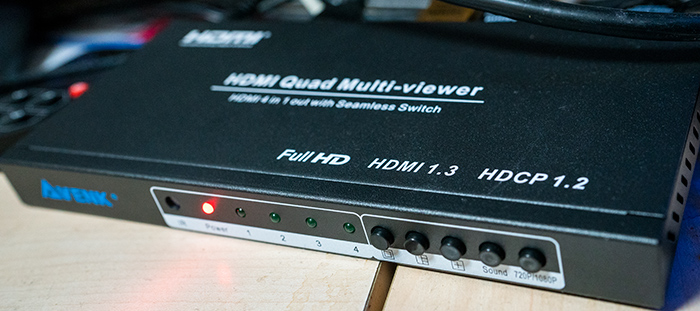
An HDMI Quad Multi-viewer (like this one $99) – this has four HDMI inputs (to plug in each person’s view) and one HDMI output. This is the thing that can actually take the four views and smoosh it into one HDMI signal.
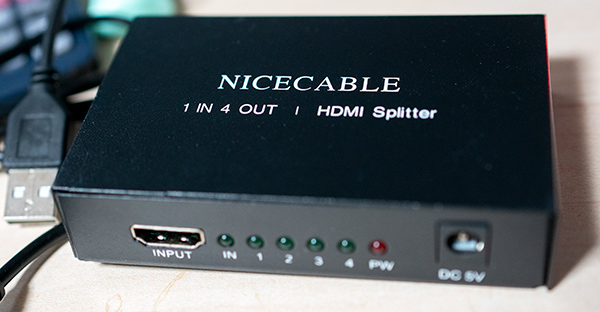
Assuming that each team member is sitting far enough away from each other to need their own quad view, you also need to split this HDMI out into up to four outputs.
An HDMI 1in 4 out splitter (like this one – $18)
Up to four extra monitors to show the quad view – if you’re like me, you have random old monitors (or Contique) laying around that can display HDMI signals.
Getting the inputs – Use OBS, NOT screen mirroring!
So now you need a signal from each person’s computer to plug into the switcher. I don’t think it’s possible to buy a video card that doesn’t have an extra HDMI out on it these days, but having that is step one.
Run an HDMI cable from the switcher input to a free HDMI output port on your video card. Open Windows’ Display Settings and verify it’s showing up as the second display.
You may be tempted to choose “Mirror display 1 on display 2” – this will only give you headaches later! It will reduce the refresh rate and resolution of your main monitor to match this second one; you probably don’t want this. It’s also kind of weird and buggy in my experience.
Note: I play 100 hz refresh at 3440X1440 – the method we use below will automatically letterbox the screen to fit the 1920X1080 output for quadview nicely.
The best way is to “extend desktop” to the second monitor. We’ll also need OBS Studio. It’s a great free open source app used primarily for streaming but works great for this.
Configuring OBS Studio
After installing OBS, the setup is pretty simple.
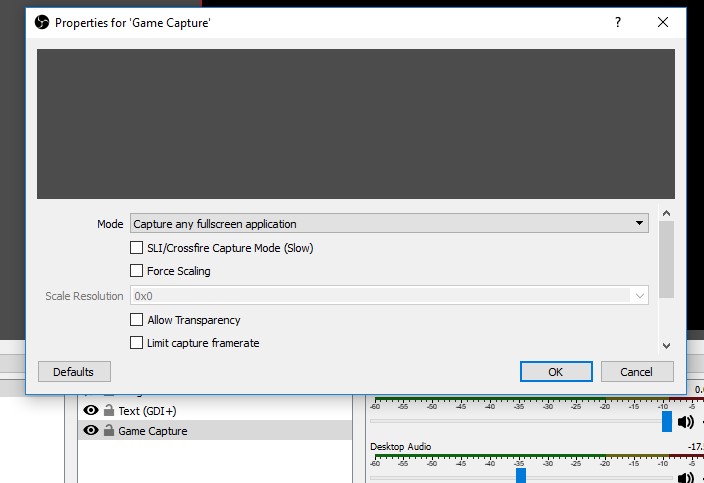
Add a “Game capture” to the sources property.
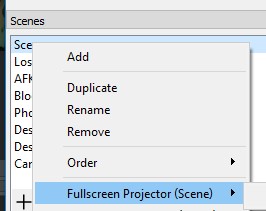
Now, this is key, right click your scene’s name under “Scenes” and choose “Fullscreen Projector” and set it to your second display. If you start a game, you should see its output being “broadcast” via the HDMI going to the quad-view box’s input.
If you want to be cool, add name overlays in OBS. That’s it, you’re ready to roll.
Some tips
- It takes practice to use, easy to forget it’s there. If a squadmate is in a fire fight a quick look can give you important information on her situation before choosing to bust in crazy-like or stealthily approach from a specific direction.
- If one of your local squad dies and you’re playing with a remote player, the dead person can switch to the remote teammate’s view so everybody can watch what he’s doing as well.
- Turn “equipment hud” and “weapon hud” options to ON – if the display is big enough it’s possible to see the players backpack, armor, and gun situation.
- If you’re REALLY serious you can buy a more expensive box that puts the four inputs together into 4K output – don’t know about you, but I sure don’t have extra 4k monitors sitting around though.

